POST-PRODUCTION & GRAPHICS Posts

False Color Infrared Photography: Part 2
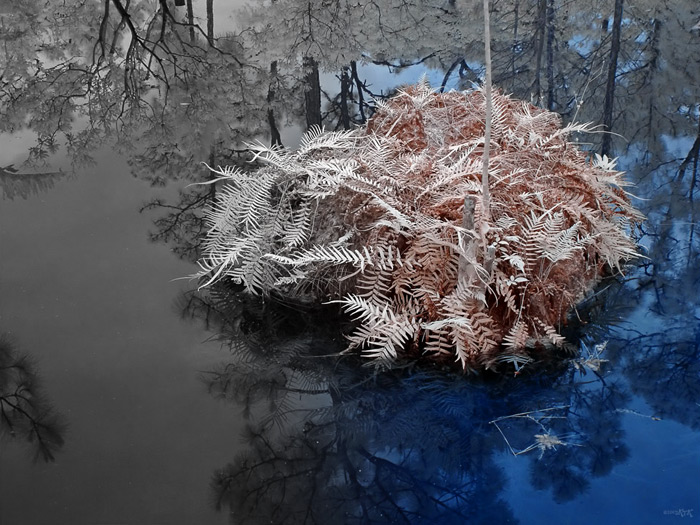
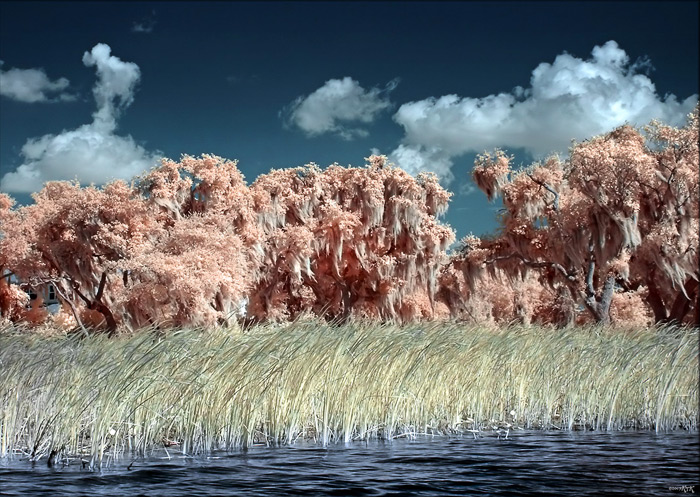
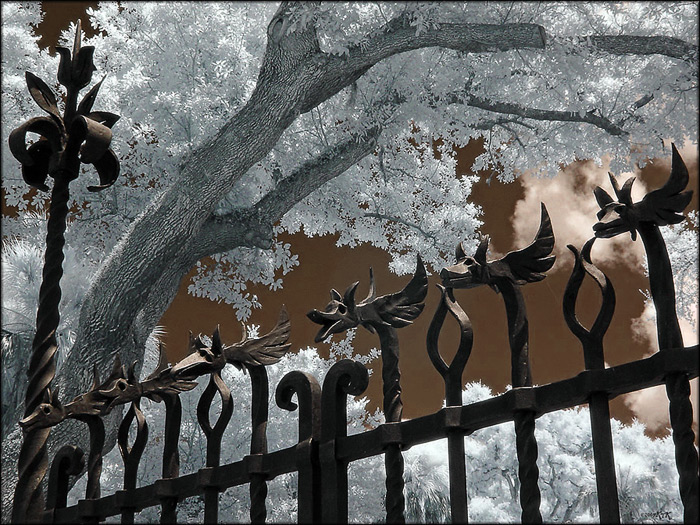
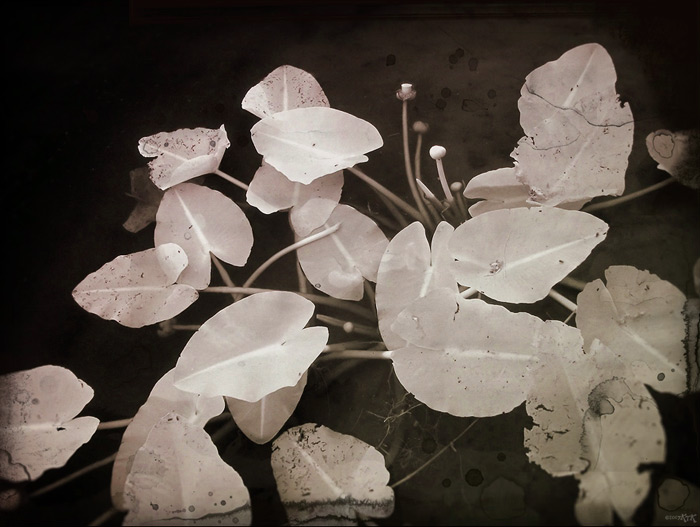
There is no denying the drama of monochromatic infrared images. The impact of dark skies and the ghostly white foliage is hard to surpass. However, when color is introduced into a infrared image, it takes on a whole new dimension. Black & White infrared images are magical, yet retain some semblance of reality. Color infrared, however, bears very little resemblance to anything we experience in our daily lives. It is as if the photographer has gone on a photo expedition to a planet much like Earth, but one where the accustomed laws of color no longer apply. What might appear to be a ho-hum landscape scene in visible light can be quite extraordinary when viewed in infrared.
The camera does the hard part; recording photos in the wavelengths of light the human eye cannot perceive. It’s up to the IR photographer to exercise their artistic vision when post-working their images in the digital darkroom. The raw infrared file needs some tweaking to bring out its full impact. I will be discussing the stages and steps to bring the IR scenes from your camera to completed masterpieces.
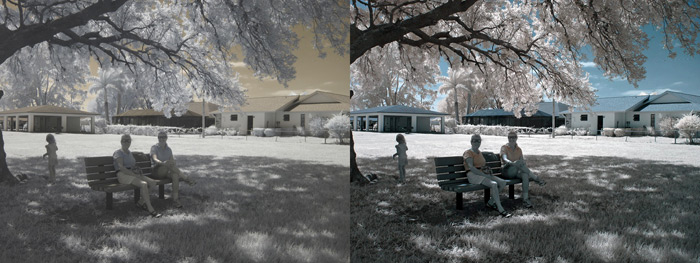
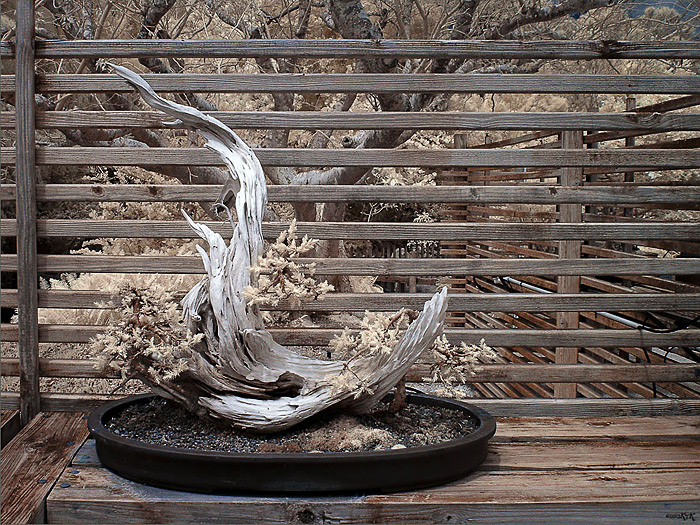
You start off with a raw IR file. It is usually a bit flat (dynamically) and has a color balance which is inverse from what a viewer usually expects to see. Assuming the photographer has taken a white-balance reading from green grass in full daylight, the scene will appear as an “IR-negative”, with red skies and blue-tinged foliage. I use Photoshop to edit my photos. The fundamentals of my suggestions can be applied to other image editing programs as well. If the photographer wants to keep the original color scheme and look, then a simple “Auto Levels” adjustment may be all that is needed. This fills out the dynamic range and creates true blacks and whites in the image.
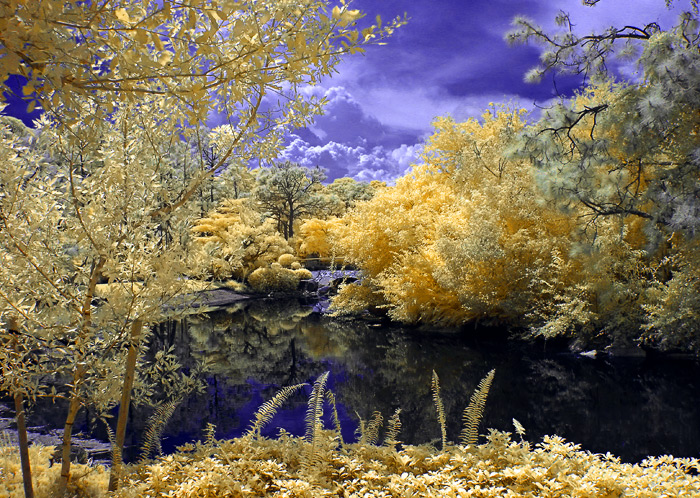
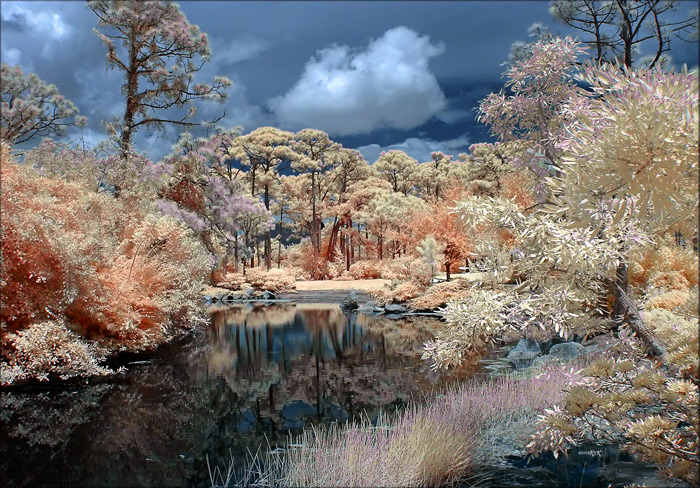
However, the photographer normally wants to alter the raw original to make the skies blue and the foliage reddish tinged. To do this, go into Image > Channel Mixer… In the Red Output Channel, move the Red slider from 100% to 0%, and the Blue slider from 0% to 100%. Then select the Blue Output Channel and move the Blue slider from 100% to 0% and the Red to 100%. This will change the sky to blue and the foliage to a reddish hue. One can fine tune these adjustments to suit their tastes, but this is a good starting point. An alternative method is to go to the Image > Adjustments > Hue/Saturation control panel and move the slider for the Hue adjustment completely to the left or right. This usually makes the red skies blue, and adjusts the foliage’s color as well. There is no right or wrong for what colors are represented though. If you want a purple sky or orange leaves on the trees, you can tweak the colors to suit whatever vision you have for the image.
Once you’ve tweaked the colors like this, it is common to further enhance the hues by increasing their saturation en masse, or in individual color channels. Say you like the way most of an image looks, but want the sky to be bluer. You’d go into the Image > Adjustments > Hue/Saturation control panel and adjust the saturation for just the blues and cyans. You can increase the saturation of any of the colors in your image by utilizing this method. You can also select portions of the image using one of the Lasso Tools or by selecting portions with the Magic Wand Tool, feather the selection and then adjust them to further dramatize the photo. To further enhance colors and contrast, the photographer can use Image > Adjustments > Levels… (or Curves…) bring up the darks and brighten the whites; either as a whole or in select areas. A central ‘hot spot’ is much less likely when using a modified camera, but it is still a possibility and may require roughly selecting the center of the image with the Elliptical Marquee Tool. After using Select > Feather… to modify the circular selection (start at about 200 pixels to see how that looks), darken the central hot spot (Image > Adjustments > Levels…) to fit with the rest of the scene. Fortunately, this is not an issue I’ve encountered using my modified Sony P200 and may not be for you either. At this point, a little sharpening may be in order to bring out fine detail, though I personally only sharpen right before an image is ready, especially if it has been resized for web viewing. Every photographer has their own preferred method of sharpening, but one of the easiest ways is to use Filter > Sharpen > Unsharp Mask… and adjust the settings until you are happy with the results. You can always use Edit > Fade Unsharp Mask… right afterwards to lessen the effect.
Using your judgement, adjust the levels, hues and color saturation to optimize the scene and mood you are attempting to convey with your photo. In some images, a subtle approach is best. In others, bold colors may be more appropriate. Since IR photography doesn’t follow the same rules as visible light photography, you as the artist make the final call. Experiment and most of all, have fun.
~ Kort

 RSS
RSS Facebook
 Twitter




0 Comments
Tell us what you think!